|
|
Post by condor97 on Apr 2, 2015 8:41:02 GMT -8
|
|
Deleted
Deleted Member
Posts: 0
|
Post by Deleted on Apr 2, 2015 17:34:56 GMT -8
Can you take some close ups of the clasp bot sides; open and closed?
I think I know how to adjust it so the clasping stays closed.
|
|
|
|
My 7N42
Apr 2, 2015 19:10:16 GMT -8
Post by condor97 on Apr 2, 2015 19:10:16 GMT -8
Can you take some close ups of the clasp bot sides; open and closed? I think I know how to adjust it so the clasping stays closed. Sure! Here is the clasp open, I will get some with it closed. 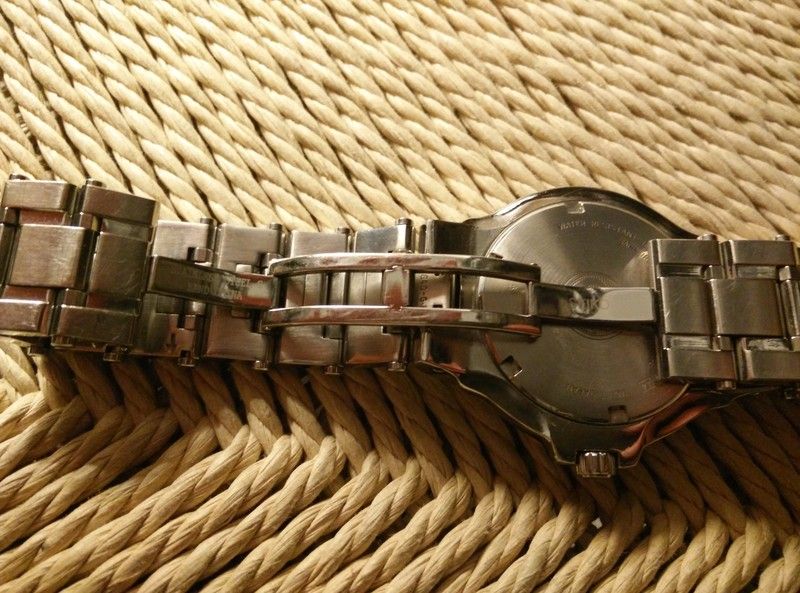 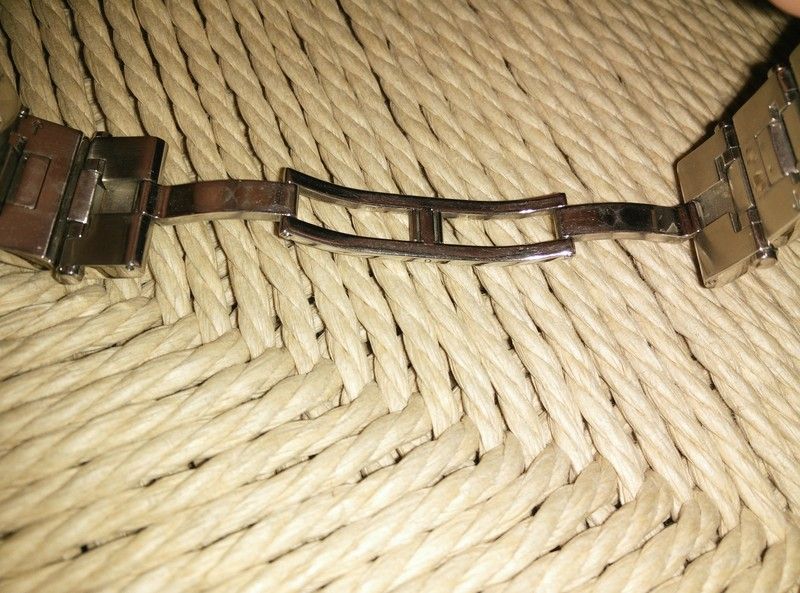 |
|
|
|
My 7N42
Apr 2, 2015 19:17:20 GMT -8
Post by condor97 on Apr 2, 2015 19:17:20 GMT -8
And closed: 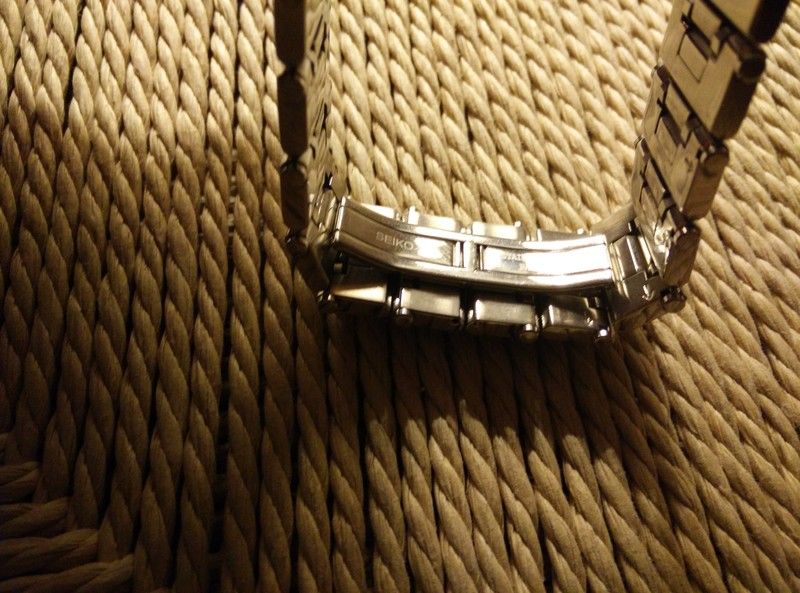 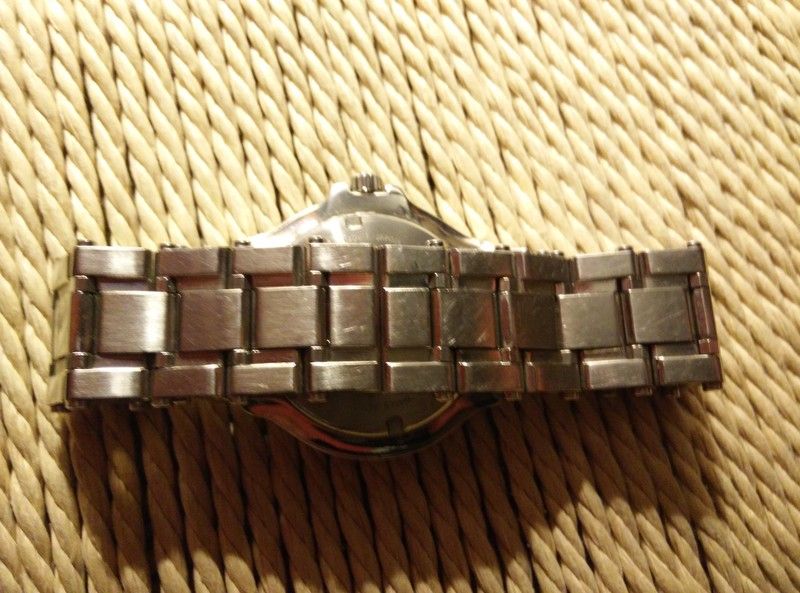 |
|
Deleted
Deleted Member
Posts: 0
|
Post by Deleted on Apr 3, 2015 9:03:32 GMT -8
Excellent pictures! The fix is dead simple. In this picture I have circled the areas that work to keep the clasp snapped closed(red circles)...  You will have to slightly straighten the two bars indicated with the yellow lines. This will make then a little bit longer and a tighter fit. To straighten them, put them on a firm surface with the arc facing up. Then press firmly with your thumb. Don't try to push it through the table just apply some pressure and check to see if the fir is tighter. Shouldn't take long before you have the clasp nice and secure again. I can't tell if this is a stamped or cast part so be careful not to be to aggressive with it as pushing too hard might cause it to break if it is cast. |
|
|
|
Post by condor97 on Apr 4, 2015 4:48:09 GMT -8
Brilliant! Great explanation and thank you for the outstanding diagram! I believe that fixed the problem, so far it is staying in place. Thank you!!:-)
|
|
Deleted
Deleted Member
Posts: 0
|
Post by Deleted on Apr 4, 2015 9:16:26 GMT -8
Brilliant! Great explanation and thank you for the outstanding diagram! I believe that fixed the problem, so far it is staying in place. Thank you!!:-) Excellent 7dfe79adc2f0 |
|


 <br/>
<br/>


